How to change op-color
Level: Beginner
In this guide, we'll show you how to change the op-color on your Minecraft server.
How to change op-color on your Minecraft server
NOTE: If you have LuckPerms installed, then please stop reading this guide and install the LPC chat formatter plugin on Spigot
Step 1: Go to your inventory
- Start by going to your inventory.
- Click on the manage button on the right-hand side
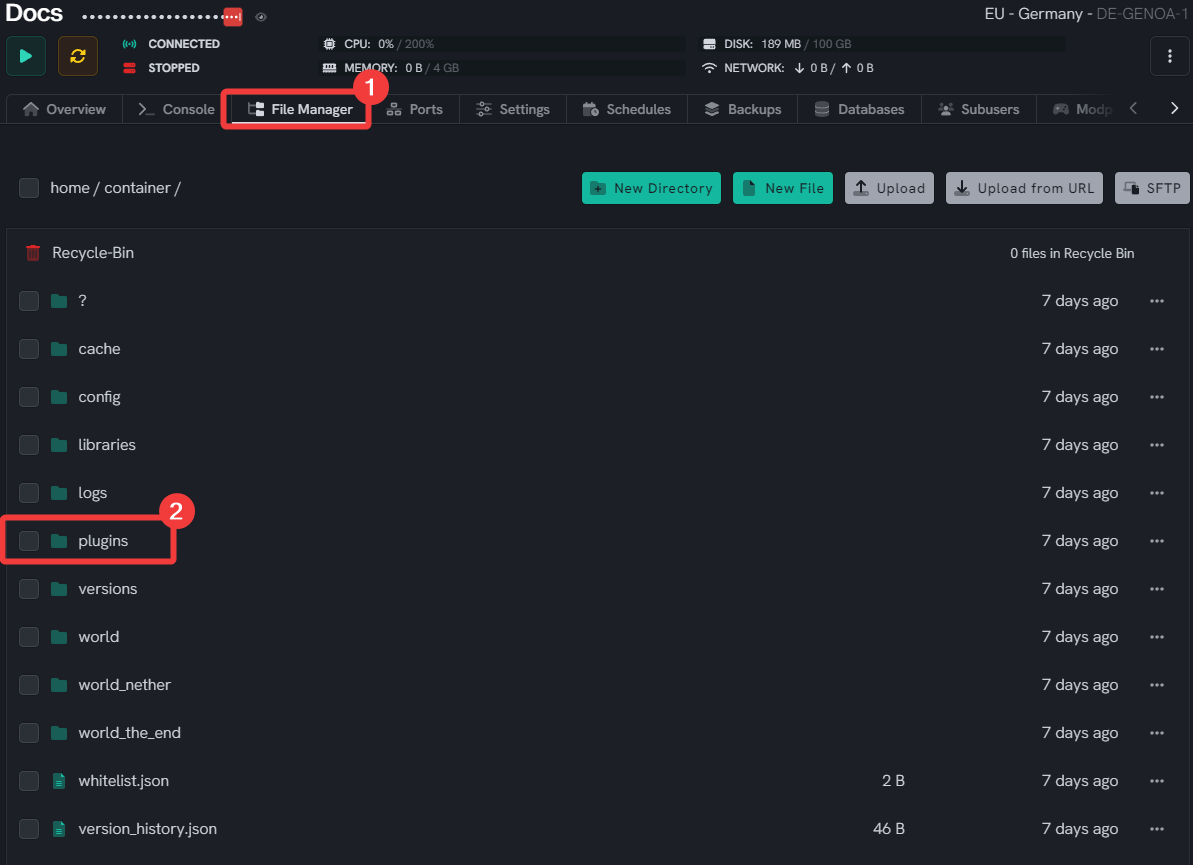
Step 2: Go to the plugins folder
Step 3: Open the Essentials folder
- Click on the Essentials folder to open it. You should see a bunch of files like this:
Step 4: Open config.yml
- Open the file named
config.ymlby clicking on it.
Step 5: Scroll down in the config.yml file
- Scroll down until you see
ops-name-color: '4'. - Now you can change the color to whatever you want. For example if you want the op-color to be white it will look like this:
ops-name-color: 'f'
Step 6: Save your changes:
- Always click the save button when you're done making the changes
Step 7: Restart Your Server
- Once you've saved your changes, navigate to your server dashboard and click the Restart button.
If you mess up, no worries. You can get the default config file on their Github repository
If you need help with this, you can open a support ticket here!
Feedback and suggestions regarding this article are welcome on our Discord server.


