How to setup Voicechat in Minecraft
Level: Intermediate
This guide will walk you through installing and configuring Plasmo, the proximity voice chat plugin for Minecraft servers. This is a two-step process.
Setting up Plasmo voice server
Step 1: Install the Plasmo Voice plugin on your server
- There are two ways to install a plugin. The first one is to visit the official Plasmo Voice page on SpigotMC to download the latest version of the Plasmo Voice plugin. When you have the jar file, go to the
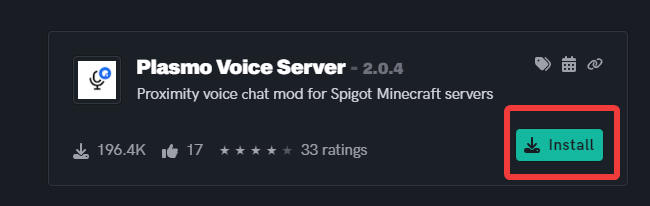
File Managertab, then to thePluginsfolder, press upload, and select the plugin you just downloaded. - The second way to install the plugin is to go to the
Pluginstab and search for the plugin calledPlasmo Voice Serverand press the install button.

Step 2: Restart your Minecraft server
- Restart your server to enable the Plasmo Voice plugin. During the restart, the server will generate the
config.ymlfile for Plasmo Voice in theplugins/PlasmoVoice/directory.
Step 3: Locate and open the config.yml file
Step 4: Locate the Port setting
- Look for the
portsetting in theconfig.ymlfile. Since the plugin uses UDP and not TCP, we can use the same port our server runs on. - when you've done that, it should look something like this:
[host]
ip = "0.0.0.0"
port = <your port here>
Now that you're done with the server side let's install it on the client side as well since it won't work correctly if you ignore the client side. This is because Plasmo must also be installed on the client side to send voice data back and forth.
Installing Plasmo on the client side
Step 1: Check your Minecraft version
- Make sure you're running a compatible version of Minecraft. Plasmo Voice mod typically supports recent Minecraft versions, but it's best to check the official Plasmo Voice mod page.
Step 2: Download the Plasmo Voice client mod
- Visit the official Plasmo Voice mod page on CurseForge and download the latest version.

Step 3: Install Minecraft Forge or Fabric
- Depending on the mod's version, the Plasmo Voice mod requires Minecraft Forge or Fabric to run. Download and install the appropriate mod loader for your version of Minecraft.
- If you're using fabric, you need the Fabric API jar file. The Fabric API is a utility software Fabric mods use to interact with Minecraft; if you don't install it, your mod will not load. However, you can get away with just downloading the mod on Forge.
Step 4: Install the Plasmo Voice client mod
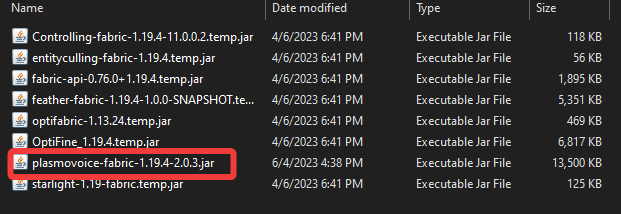
- Once you have installed Forge or Fabric, navigate to your Minecraft mods folder (
%appdata%\.minecraft\modson Windows). Copy the downloaded Plasmo Voice mod.jarfile into this directory.
Step 5: Launch Minecraft
- Start Minecraft using the Forge or Fabric profile from your Minecraft launcher. The Plasmo Voice mod should load along with the game.
Step 6: Verify Plasmo Voice mod installation
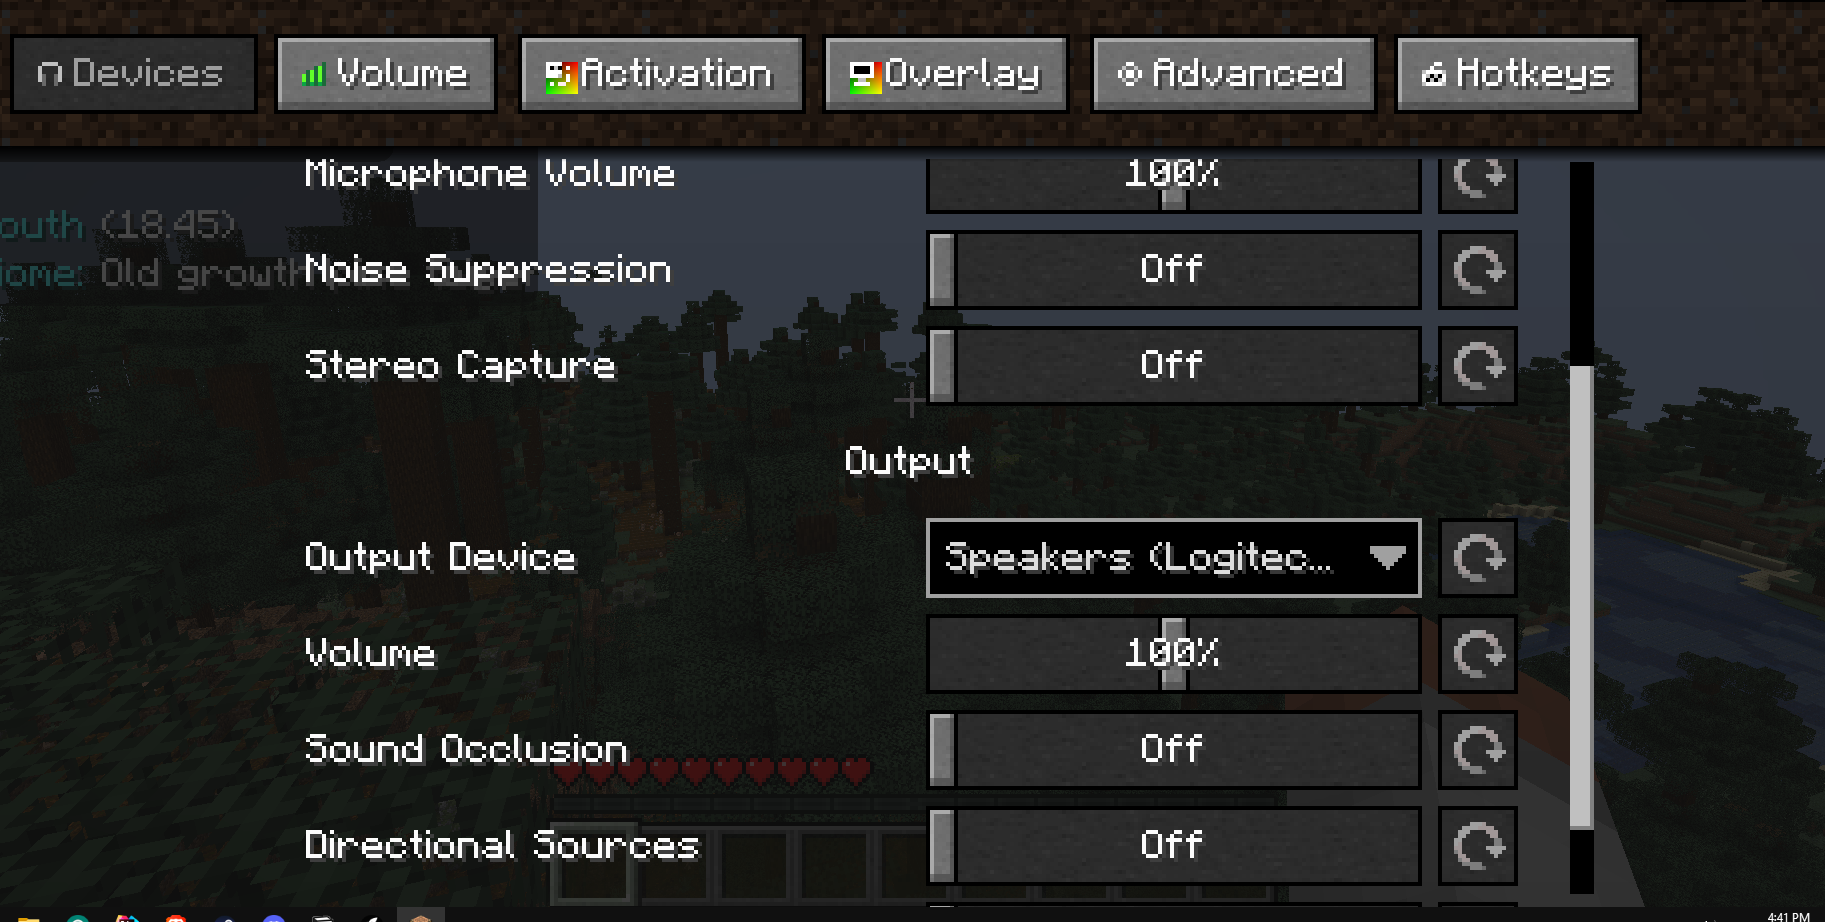
- You can verify the installation by entering your server and pressing the
Vkey. If a pop-up menu comes up, you have done everything correctly.
Congratulations, you've successfully installed the Plasmo Voice client mod! With this, you can enjoy enhanced in-game voice communication on Plasmo Voice-compatible servers.
If you are having trouble with this, you can open a support ticket here!
Feedback and suggestions regarding this article are welcome in our Discord server