Install "Better End" on Your Minecraft Server
Level: Intermediate
In this tutorial, we will guide you through the process of installing the "Better End" mod on your Minecraft server. The "Better End" mod is known for its dynamic and innovative approach to Minecraft end dimension. Follow this step-by-step guide to successfully install the "Better End" mod on your server.
How to Install the "Better End" Mod on Your Minecraft Server
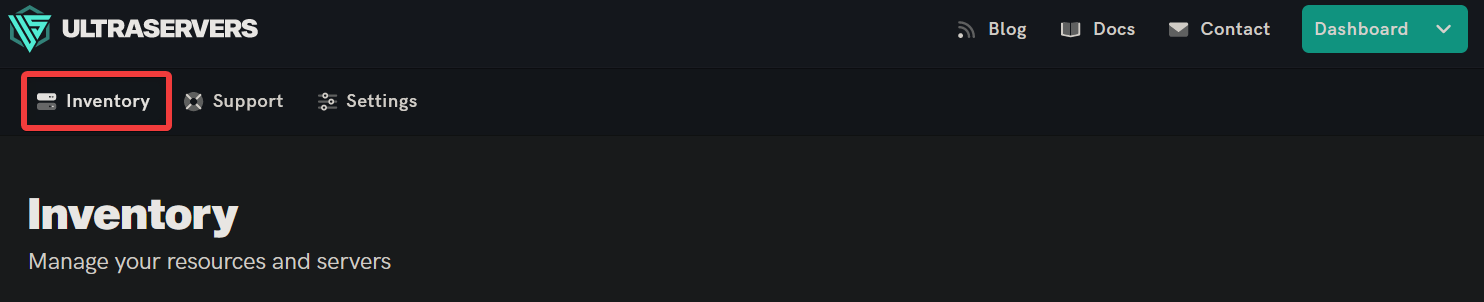
Step 1: Go to your UltraServers dashboard
- Go to your inventory.
- Once in your inventory you will see your list of servers.
Step 2: Click "Manage" on the server you want to change
- This will take you to the advanced view of your server.

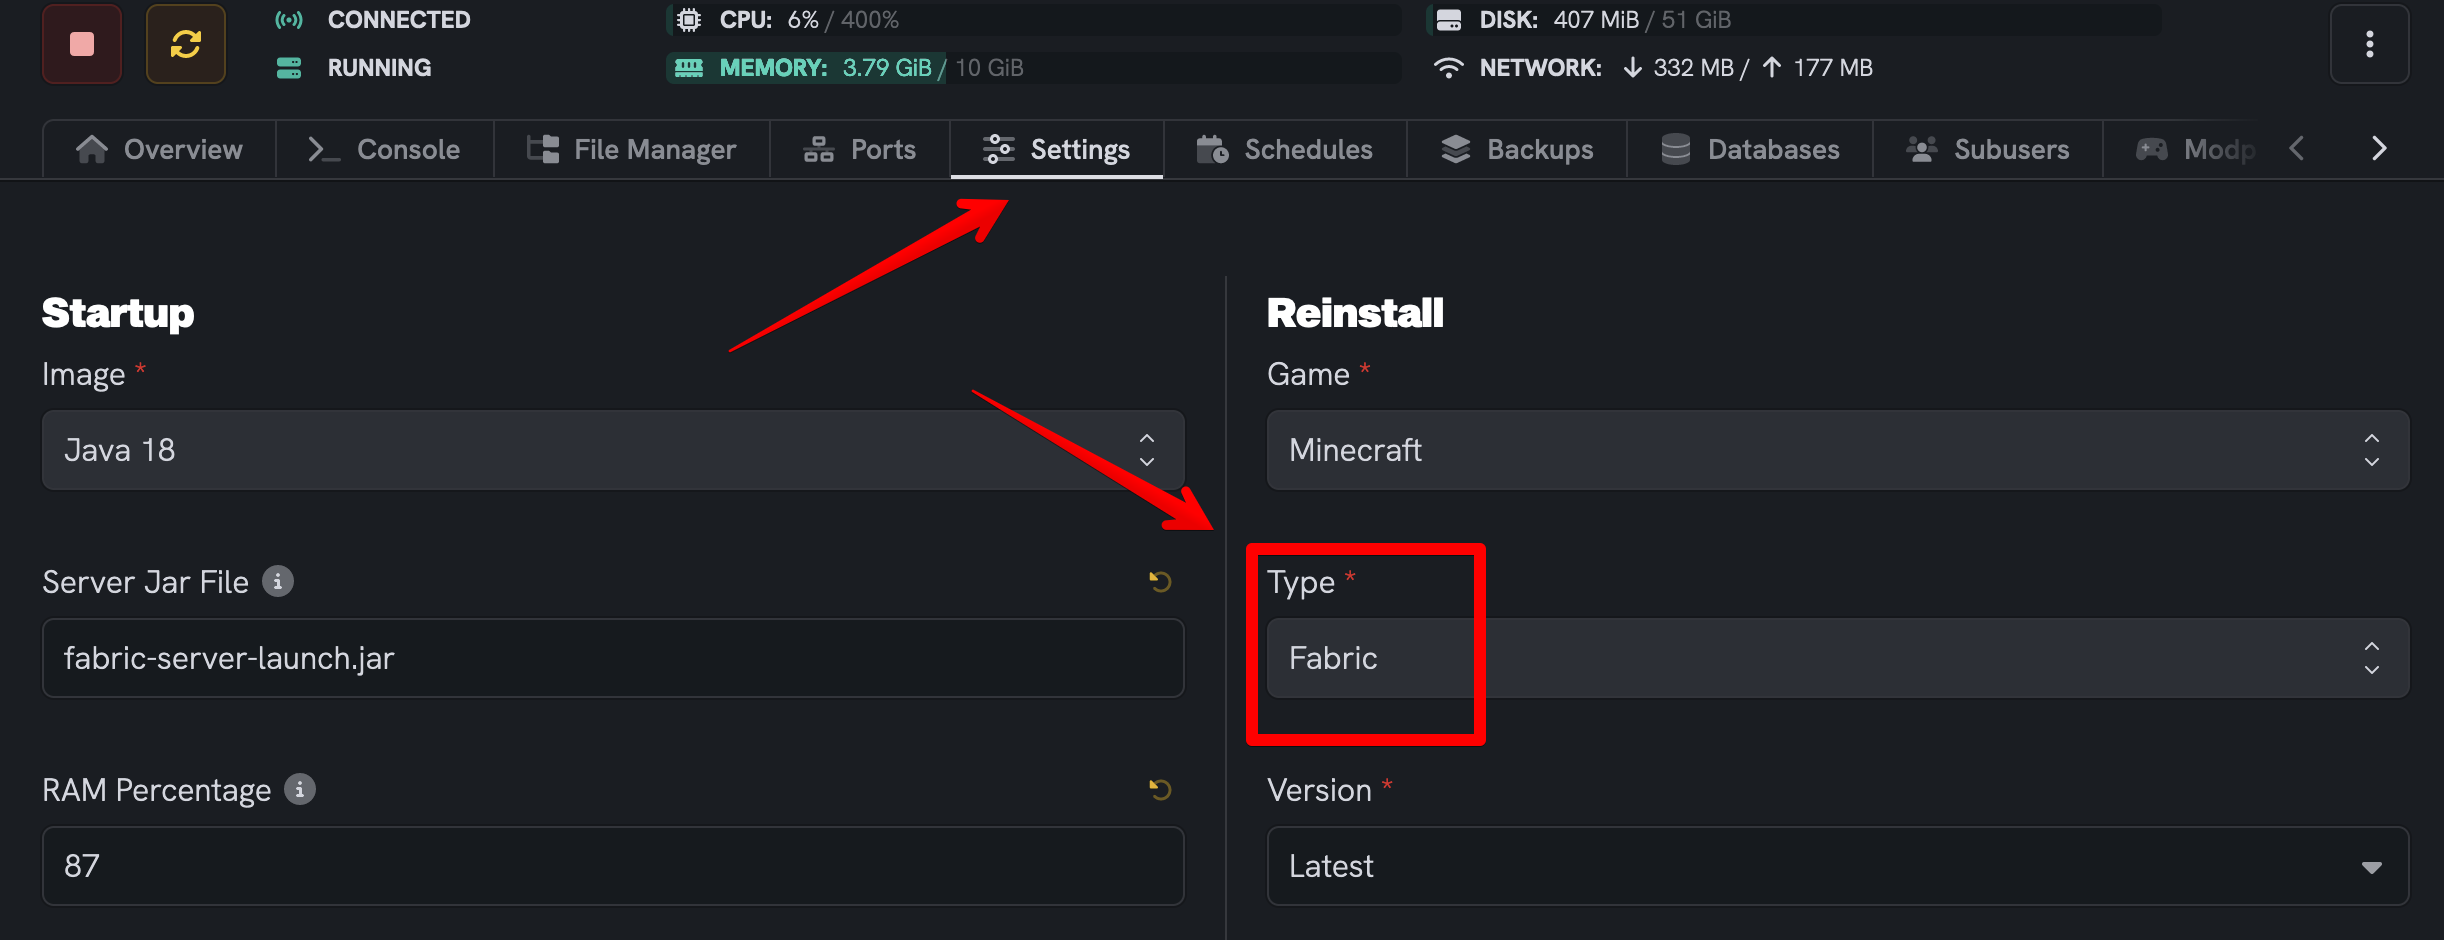
Step 3: Verify Your Server Runs Forge
- First, make sure your server is running on Minecraft Forge, as the "Better End" mod is designed for Forge compatibility.
Step 4: Download the "Better End" Mod
- Download the "Better End" mod from a trusted source, such as CurseForge. Make sure it matches the version of Forge installed on your server. Official mod repositories like Modrinth and CurseForge, or the mod's official website, are recommended for downloads.
Step 5: Access Your Server Files
- Access your server's files via the Dashboard's file manager or by using an FTP client like FileZilla.

Step 6: Install the "Better End" Mod on the server
- Go to the
modsfolder in your server directory. If you don’t have a mods folder, create one. - Upload the "Better End" mod file into the
modsfolder.
Step 7: Install the "Better End" Mod on Your Client
-
To actually play with the "Better End" mod, you need to install it on your client (your personal Minecraft game) as well. This ensures that your game client can recognize and interact with the mod installed on the server. Below is a general guide on how to install Minecraft mods, including the "Better End" mod, using a standard mod loader like Forge or Fabric.
-
Watch this Tutorial: For a visual guide, watch the following video tutorial. It covers the essential steps to download and install Minecraft mods on your client. This will help you set up your game to connect to your modded server seamlessly.
-
How to Install Minecraft Mods (YouTube Video Tutorial) - This video explains the process in a step-by-step manner, making it easier to follow along.
-
- Note: The installation process for mods on your client is similar to the server installation but requires attention to your specific game version and compatibility with your mod loader (Forge or Fabric).
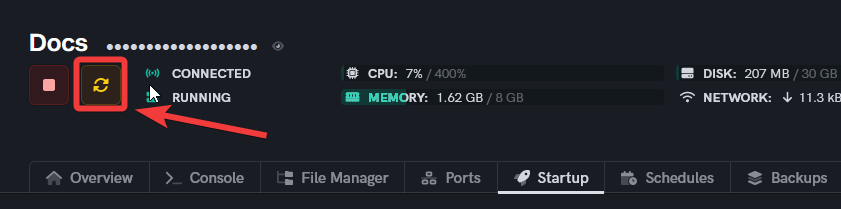
Step 8: Restart Your Server
- After installing the mod both on your server and your client, restart your Minecraft server to activate the mod.
Step 9: Verify the Mod Installation
- Once the server is back online, connect to it with your mod-installed client and verify that the "Better End" mod is running correctly. You should be able to see and interact with the mod's features in the game.
If you are having trouble with this, you can open a support ticket here!
Feedback and suggestions regarding this article are welcome in our Discord server