Install and Configure Dynmap
Level: Intermediate
In this guide, we will show you step-by-step how to install and configure the Dynmap plugin for your Minecraft server. Dynmap is a Google Maps-like map for your Minecraft server that can be viewed in a browser.
How to Install Dynmap on Your Minecraft Server
Note: dynmap and other mapping software may take up a LOT of storage!
Step 1: Install the Dynmap plugin
- Dynmap needs to be installed manually, and you can download the Dynmap .jar file from the official Modrinth page.
- After downloading, place the .jar into the
pluginsfolder of your Minecraft server. - Here is a guide for uploading your own plugin files.
Step 2: Start the server
- Start your Minecraft server.
- Dynmap will be activated, and it will generate a
Dynmapfolder within thepluginsfolder.
Step 3: Add an extra port
- Dynmap needs an additional port to function. Follow the guide on How to add extra ports to your server.
- Take note of the extra port you just created, for example
12345.

How to Configure Dynmap for Your Minecraft Server
Step 1: Locate the configuration.txt file
- In the Dashboard, go to the File Manager tab.
- Navigate to the
plugins/Dynmapfolder and locate theconfiguration.txtfile.

Step 2: Open the configuration.txt file
- Open the
configuration.txtfile using the inbuilt text editor by clicking on it.
Step 3: Configure the webserver-port
- Inside the
configuration.txtfile, find thewebserver-portentry, this is the port on which the webserver of Dynmap will run. - Replace
<your extra port>with the extra port you added to your server in Step 3 of this guide.
# The TCP-port the webserver will listen on.
webserver-port: <your-extra-port>
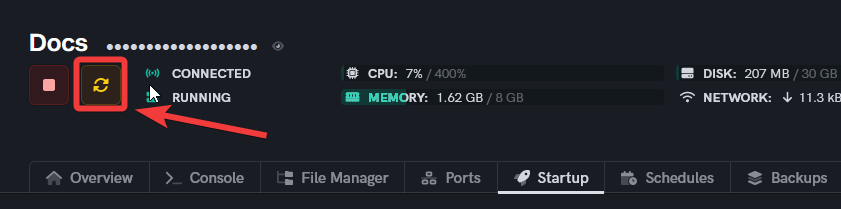
Step 4: Save changes and restart the server
- Save the changes you've made to the
configuration.txtfile and restart your Minecraft server for the changes to take effect.
Your Minecraft server should now have Dynmap installed and properly configured. By default, Dynmap will begin rendering all the worlds on your server. This process can take some time depending on the size of your worlds.
To view your map, open any web browser and go to: http://<your-server-ip>:<your-extra-port>/. Make sure to replace <your-server-ip> with your server's IP address and <your-extra-port> with the extra port you have added for Dynmap.
Enjoy exploring your Minecraft world from a brand new perspective!
If you are having trouble with this, you can open a support ticket here!
Feedback and suggestions regarding this article are welcome in our Discord server