How to install Plugins
Level: Beginner
In this guide we will step-by-step show you how to install plugins for your Minecraft server. Plugins are extra tools that enables you to customize the the management of your server and your gameplay. Plugins can be run on server versions such as Paper, Forge and Bukkit.
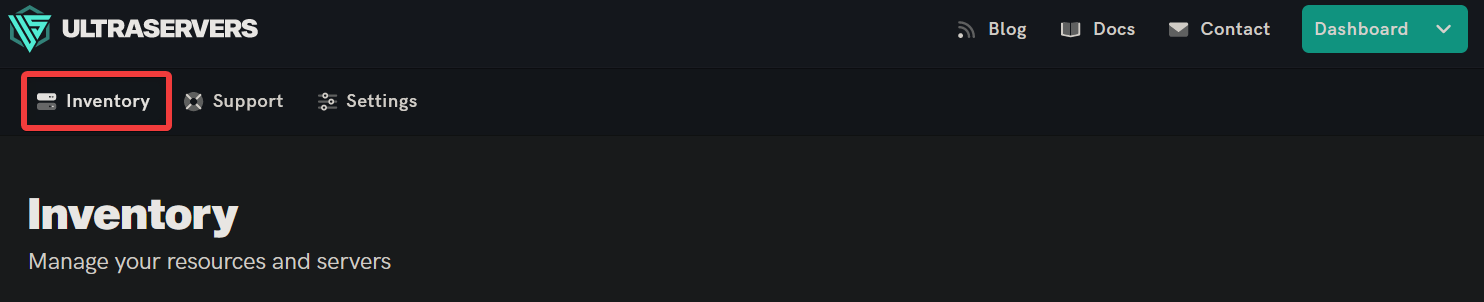
Step 1: Go to your UltraServers dashboard
- Go to your inventory.
- Once in your inventory you will see your list of servers.
Step 2: Click "Modify" on the server you want to change
- This will take you to the advanced view of your server.

Step 3: Go to the Plugins tab
- This will take you to a page that lists the most popular plugins for Minecraft.
- You can also search for the plugin you are looking for by using the search bar feature.

Step 4: Check if your Plugin has installed
- You can click the Installed button to view the plugins you have installed.
- From here you can manage and delete plugins.

How to upload your own plugin files
Step 1: Go to your UltraServers dashboard
- Go to your inventory.
- Once in your inventory you will see your list of servers.
Step 2: Click "Manage" on the server you want to change
- This will take you to the advanced view of your server.
Step 3: Navigate to the File Manager
- The file browser can be found by clicking the File Manager tab inside the server view.

Step 4: Add plugins folder
- If plugins folder already exists, please skip this step.
- It is possible that you may have to create your own plugins file. Sometimes it does not exist by default.
- To add a folder click the New Directory button.
- Then restart your server.
Step 5: Upload your plugin files
- In the Plugins folder you can now upload your files.

Step 6: Restart your server
- Scroll back to the top of the page.
- Then, click on the Restart button.

If you are having trouble with this, you can open a support ticket here!
Feedback and suggestions regarding this article are welcome in our Discord server